How to Use a Rear Tine Tiller
A step-by-step operational guide for rear tine tillers: soil checks, depth stake settings, tine rotation modes, and safe handling in garden plots.

On this page
Top picks at a glance
As an Amazon Associate I earn from qualifying purchases.
- 1
 EARTHQUAKE Victory Rear Tine Tiller9.8/10View on Amazon
- 2
 Earthquake® 46059 Pioneer™ Dual Direction Rear Tine Tiller9.7/10View on Amazon
- 3
 NOVUS Dual Direction Rear Tine Tiller9.7/10View on Amazon
- 4
 YARDMAX 18 in. 212 cc Gas OHV Engine Rear Tine Tiller withView on Amazon
- 5
 SuperHandy Tiller CultivatorView on Amazon
- 6
 Pulsar 212cc 20-Inch Gas Powered Rear Tine Tiller withView on Amazon
- 7
 Earthquake 20015 Versa 2-in-1 Tiller Cultivator with a 99ccView on Amazon
- 8
 IncwBo 12'' 15-AMP Electric Roto Tiller Cultivator forView on Amazon
- 9
 TAZZ 35310 2-in-1 Front Tine Tiller/CultivatorView on Amazon
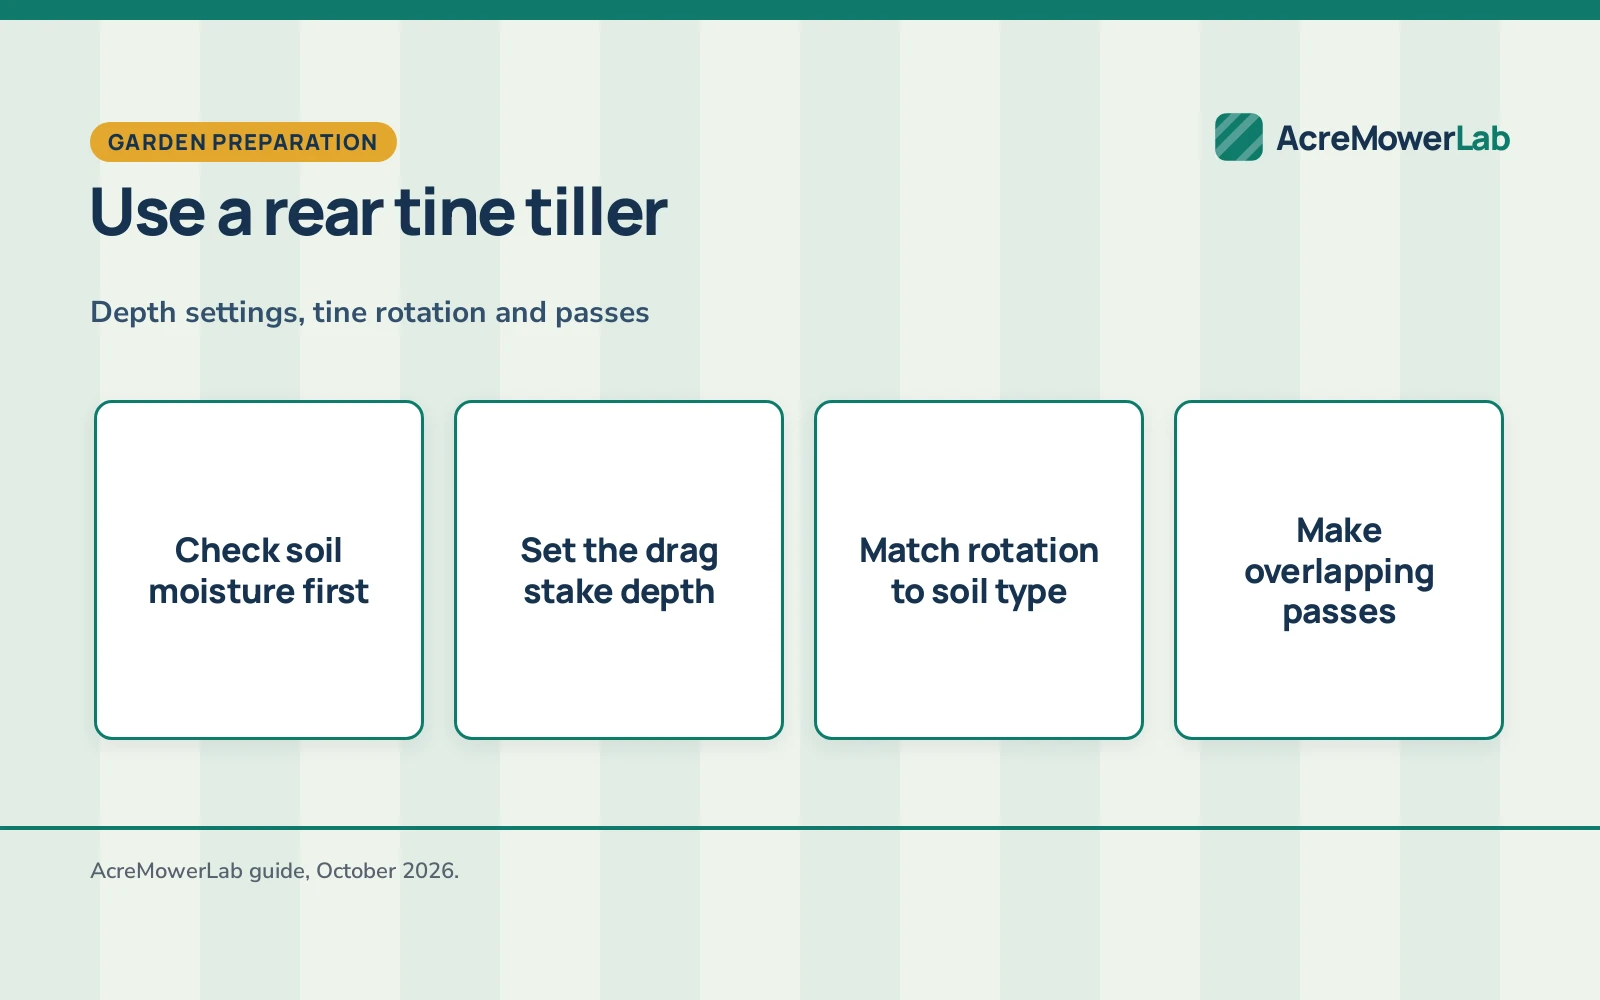
To use a rear tine tiller, check soil moisture, set the rear depth stake shallow, select counter-rotating tines for sod or standard rotation for loose soil, and let the powered drive wheels pull the machine forward at a steady pace. Keep a relaxed grip on the handlebars without pushing downward, and make overlapping passes across the garden plot to loosen soil to your desired planting depth. This guide explains how to use a rear tine tiller step by step for new ground and established beds.
Other machines to compare
 YARDMAX 18 in. 212 cc Gas OHV Engine Rear Tine Tiller withCheck price on Amazon
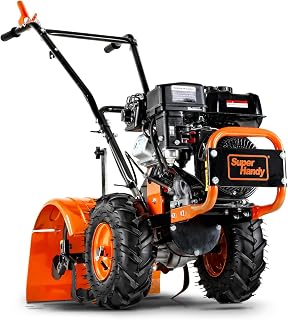 SuperHandy Tiller CultivatorCheck price on Amazon
 Pulsar 212cc 20-Inch Gas Powered Rear Tine Tiller withCheck price on Amazon
 Earthquake 20015 Versa 2-in-1 Tiller Cultivator with a 99ccCheck price on Amazon
 IncwBo 12'' 15-AMP Electric Roto Tiller Cultivator forCheck price on Amazon
 TAZZ 35310 2-in-1 Front Tine Tiller/CultivatorCheck price on Amazon
AcreMowerLab earns a commission when you shop through links here. It never changes your price. Affiliate disclosure.
How to use a rear tine tiller: prepare the ground and machine
Before starting the engine, clear stones, fallen branches, wire, and surface debris from the garden plot to prevent tine damage and kickback. Contact the local utility locator service before digging to mark buried pipes or electrical lines.
Check fuel and oil before starting. SuperHandy specifies 87 octane gasoline with 10 percent or less ethanol and SAE 30 or 10W-30 oil for its 7HP 209cc engine. Fill the fuel tank outdoors when the engine is cold.
| Tine mode | Best for | Handling characteristic |
|---|---|---|
| Counter-rotating tines (CRT) | Busting tough sod, compacted earth, and new garden plots | Tines pull backward against forward wheel drive to dig deep |
| Standard rotating tines (SRT) | Cultivating established beds, blending compost, and seedbeds | Tines turn with drive wheels to loosen and smooth loose soil |
| Dual-direction drive | Switching between sod-busting and bed preparation on one plot | Allows operator to select rotation mode based on soil density |
Most property owners working large vegetable plots choose dual-direction or counter-rotating equipment for dense soil. See our best rear tine tiller guide for gas-powered models compared across engine displacement and drive designs.
Step 2: set the depth stake
The drag stake mounted behind the tine shield governs working depth and forward speed by providing resistance so the rotating tines dig rather than pull the tiller across the surface.
Set the stake shallow for initial passes through hard ground so only the tip enters the soil, keeping the machine stable. Lower the stake on subsequent passes to cultivate deeper. NOVUS lists an 8-position depth adjustment on its model for working up to 10 inches deep, while EARTHQUAKE lists an 11-inch tilling depth. Adjust the stake with its pin while the engine is shut off.
Step 3: select tine rotation mode
Rear tine machines feature counter-rotating tines, standard rotating tines, or dual-direction transmissions that switch between modes.
Select counter-rotating mode for breaking virgin ground, heavy clay, or thick sod. The tines rotate backward against forward-rolling drive wheels, pulling the tines into dense soil and preventing lunging across turf.
Select standard rotating mode for cultivating established beds, blending compost, or smoothing seedbeds. The tines spin with the wheels, gently crumbling loose earth without pulverizing soil structure. EARTHQUAKE lists dual-direction capability on its Pioneer model, allowing operators to shift between counter-rotating and standard rotating tines using a shift handle on the locator plate.
Step 4: start the engine and engage the drive
Move the machine to the garden edge and verify that tine and wheel drive levers are disengaged. Shift into neutral.
Open the fuel valve, close the choke, and set the throttle. Pull the recoil starter handle briskly until the engine cranks, then open the choke as it warms. EARTHQUAKE equips its Pioneer model with a 99cc Viper engine designed for balanced operation and reduced vibration.
Select your forward speed on geared units; NOVUS and Poulan Pro list 2 forward speeds and 1 reverse speed on their gear-driven models. Squeeze the drive lever to engage the wheels, then engage the tine clutch to begin tilling. Disengage the tine clutch before selecting reverse. EARTHQUAKE lists an instant reverse handle on the Pioneer model that reverses direction with a pull and disengages when released.
Step 5: make overlapping passes across the plot
Guide the tiller into the garden row and maintain steady forward progress. Let the machine’s weight provide downforce; YARDMAX lists an item weight of 208.5 pounds for its 18-inch model.
Follow these operational practices during each tilling run:
- Initial pass: keep the drag stake shallow to fracture topsoil without jarring the machine.
- Perpendicular pass: cultivate across initial rows at a right angle to break stubborn clods.
- Handlebar posture: walk upright and guide the tiller with light grip pressure.
- Path management: use offset side positioning to keep footprints off prepared dirt.
Avoid lifting up or pushing down heavily on the handlebars. Lifting raises the depth stake, which can cause forward-rotating tines to lurch forward. Pushing down excessively lifts the front wheels off the ground, causing loss of traction. Guide the tiller with light, steady pressure and let the powered wheels pull forward.
Check soil moisture before digging
Soil condition determines tilling success more than engine power. Never till wet soil, which destroys soil structure, creates dense clods that bake hard, and packs dirt under the tine shield.
Check moisture by squeezing a handful of dirt from below the surface into a ball. If moisture seeps out or leaves a muddy smear, the soil is too wet; let the garden dry for several days. If the ball crumbles easily under light thumb pressure, the ground is ready to till. If soil is bone-dry and rock-hard, lightly sprinkle the area and wait overnight before tilling.
Manage rocks and buried obstructions
Buried rocks, thick roots, and wire can shear pins, bend tines, or kick the machine sideways.
Grip handlebars firmly with balanced footing to react quickly. If a tine catches a solid obstruction, release drive and tine levers immediately. Powered wheels and spinning tines stop the moment controls are released.
Shut off the engine and disconnect the spark plug wire before inspecting the tines. Never clear wedged rocks or tangled roots with unprotected fingers or while the motor runs. Use pliers or a pry bar to dislodge debris safely.
Tilling new ground versus established garden beds
Breaking new ground requires a patient, multi-pass approach rather than trying to reach full depth immediately. EARTHQUAKE lists an 11-inch tilling depth and a 17-inch width for model 31285 with a 99cc engine. NOVUS lists up to 10-inch tilling depth with 16 steel tines across an 18-inch width.
For sod, mow grass short before tilling. Set the depth stake shallow in counter-rotating mode and make an initial pass along the plot. Lower the stake a notch and make a perpendicular cross pass to slice roots and shred sod clumps.
Established garden beds require less effort. Set the transmission to standard forward rotation, lower the depth stake to working level, and make a pass to blend compost or aerate planting soil. For smaller plots, explore our best tiller for large garden comparisons.
Care and storage after tilling
Move the machine to a flat area and allow the engine to cool completely before servicing.
Disconnect the spark plug wire. Hose caked dirt and plant residue off the tine shield, hood, and wheels to prevent rust on steel shafts and chassis parts.
Inspect tines for damage and ensure mounting hardware remains tight. Check the air filter, since tilling kicks up fine dust that clogs intakes. Check engine oil and store the machine in a dry shelter away from moisture.
Safety
Contact the local utility notification service before digging to mark buried electrical cables, gas mains, and water lines.
Wear personal protective equipment, including eye protection, hearing protection, sturdy work boots, and gloves. Never operate equipment in open-toed shoes or loose clothing that could snag in spinning tines.
Clear the garden area of rocks, wire, and debris before starting. Keep children, pets, and bystanders away, and avoid steep slopes where the machine could slip.
Turn off the engine and let it cool before refueling outdoors. Never reach under the tine shield while the engine runs, and shut down the motor before leaving the handlebars.
FAQ: mowing large lots
How deep should I till on the initial pass?
Keep the depth stake shallow on the initial pass to cultivate only topsoil. Tilling too deep right away strains the engine and causes bouncing. Lower the stake gradually on later passes to reach full depth.
What is the difference between CRT and SRT tine rotation?
Counter-rotating tines (CRT) spin backward against forward drive wheels to bust hard sod and clay. Standard rotating tines (SRT) spin forward with the wheels to cultivate loose soil and smooth seedbeds.
Why is my rear tine tiller jumping forward?
A tiller jumps when forward-rotating tines strike hard ground without sufficient drag resistance, or when lifting the handlebars raises the stake out of soil. Keep the stake engaged and use counter-rotating mode on hard ground.
Can I use a rear tine tiller on wet soil?
Never till wet soil. Saturated dirt forms hard clods when dry, ruins drainage, and clogs the tine hood. Wait until squeezed soil crumbles easily before tilling.
Do I need to push a rear tine tiller?
No. Powered drive wheels pull the machine forward. Walk upright with a relaxed grip to steer, letting machine weight and the depth stake control speed and depth.
More mowing guides
- Best Rear Tine Tiller: 4 Gas Picks for New Ground
- Best Tiller for Large Garden (2026): 5 Picks Compared
- Best Rear Tine Tiller Under 1000: 5 Picks Compared
- Cheap Garden Tiller: 5 Budget Picks Compared (2026)
Explore our tiller and cultivator guides to compare equipment by width, engine displacement, and garden size.