Tiller Maintenance: Seasonal Care and Tune-Up Guide
A practical guide to tiller maintenance on acreage: routine engine checks, tine care, belt inspection, lubrication, and seasonal storage.

On this page
Top picks at a glance
As an Amazon Associate I earn from qualifying purchases.
- 1
 EARTHQUAKE Victory Rear Tine Tiller9.8/10View on Amazon
- 2
 Earthquake® 46059 Pioneer™ Dual Direction Rear Tine Tiller9.7/10View on Amazon
- 3
 NOVUS Dual Direction Rear Tine Tiller9.7/10View on Amazon
On rural acreage with wide vegetable plots, gravel-strewn soil, and expanding garden beds, tiller maintenance comes down to a steady routine: clear packed dirt and roots from the tines after every run, inspect engine oil and air filters, keep belts adjusted, and treat fuel before storage. Taking care of these components prevents hard starting, protects the gearbox under heavy ground loads, and keeps the machine digging smoothly. This guide explains the process step by step.
AcreMowerLab earns a commission when you shop through links here. It never changes your price. Affiliate disclosure.
Tiller maintenance: core components to inspect
Rotary tillers face intense vibration and soil resistance. Regular inspections keep small wear items from becoming costly failures.
| Component | Maintenance task | Sign of trouble |
|---|---|---|
| Tines and shaft | Clear weeds, remove packed soil, check for bent blades | Machine pulls sideways or vibrates excessively |
| Engine oil | Check level on dipstick, change when dirty | Low oil level, smoky exhaust, engine runs hot |
| Air filter | Tap out dry dust, clean foam element, replace paper filter | Engine chokes, loses power under load, or will not start |
| Drive belts | Inspect for cracks, fraying, glazing, and check slack | Drive belt slips under load, squealing noise, tines stop turning |
| Gearbox | Check gear lube level, inspect tine shaft seals for leaks | Grease weeping at tine shaft, grinding sound in gear case |
| Fuel system | Add fuel stabilizer, drain carburetor bowl before storage | Stale fuel smell, hard starting, sputtering engine |
Most owners perform quick walk-around checks before each job and schedule deeper service seasonally. If you are shopping for equipment, see our reviews of top rated garden tillers and cultivators and the best rear tine tiller models.
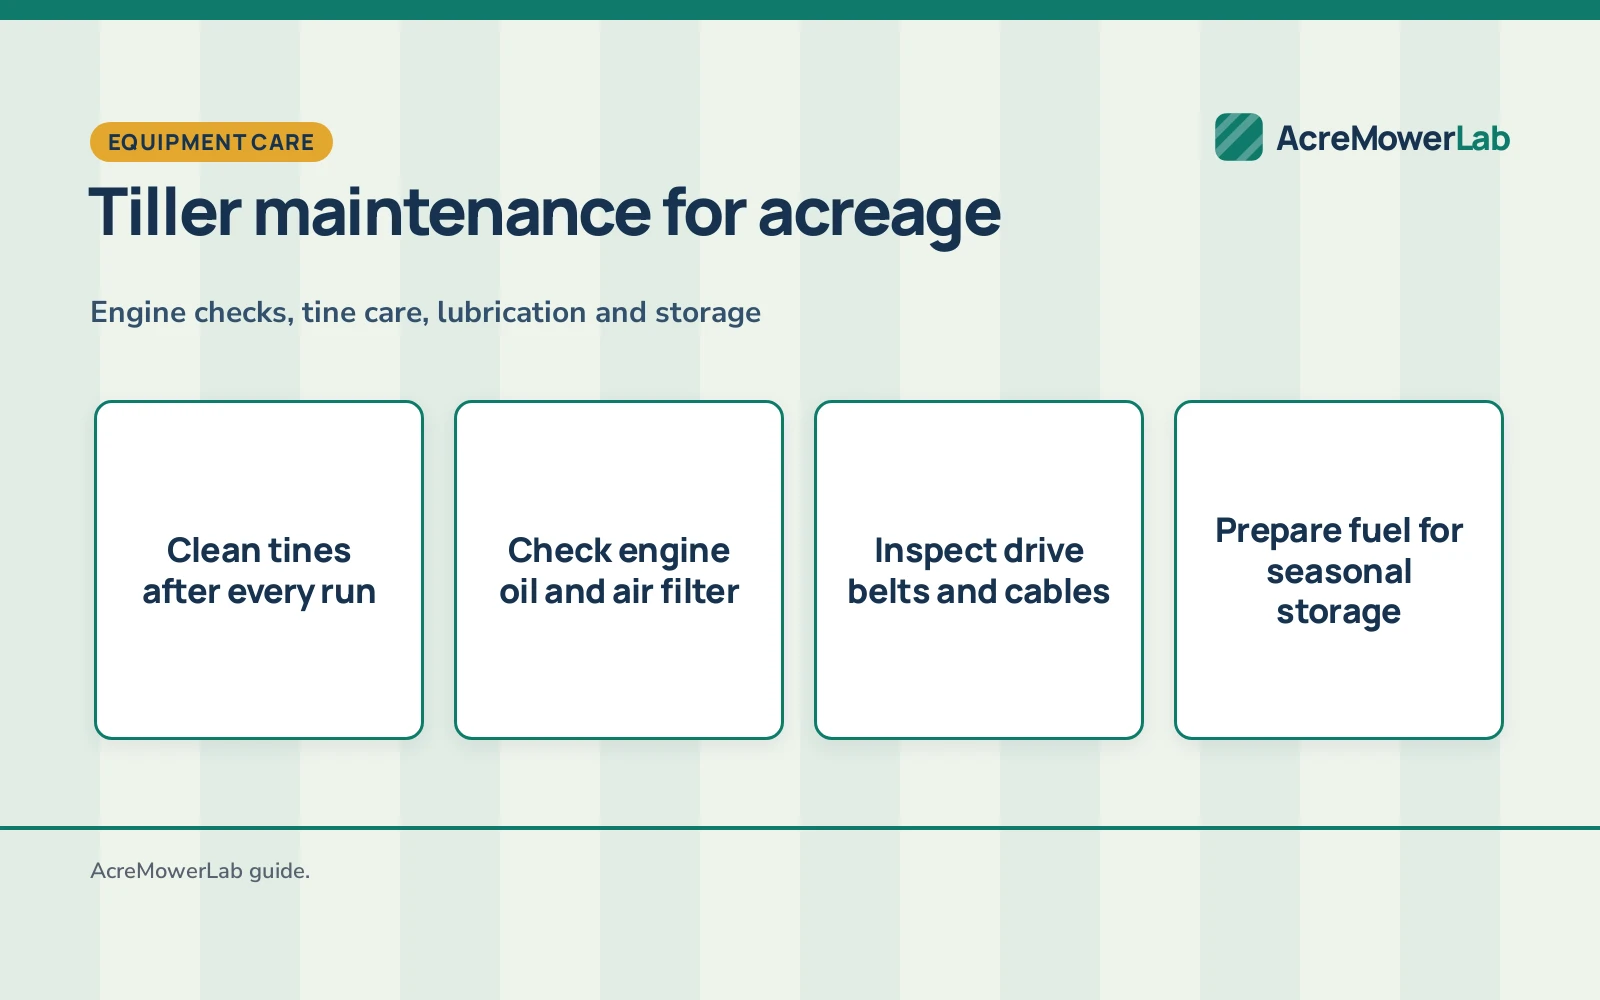
Clean the tines and underbody housing
Soil, sod, twine, and weeds wrap around the tine shaft during operation. This buildup hardens and rubs against shaft seals. Over time, roots can force past dust seals, letting grit into gearbox bearings and causing oil leaks.
Before touching the tines, shut the engine off, disconnect the spark plug boot, and fasten the wire away from the plug. Keep the engine level and block the frame securely to elevate the tines. Never tip a gas tiller so far that oil drains into the air cleaner or carburetor. Wear heavy leather gloves and scrape dried soil from the shield with a stiff putty knife, cutting away wrapped vines and wire with utility shears.
Check the blades while the underbody is clean. Look for bent metal, cracks, or worn edges. Dull tines require extra engine power and make the machine bounce instead of digging. Sharpen rounded edges with a hand file or replace damaged blades.
Service the engine oil and check levels
Tiller engines run in hot, dusty air near the ground, placing heavy demands on engine oil. Fresh oil lubricates moving parts, dissipates heat, and suspends fine dirt particles.
Check oil before every outing. Park the tiller on level ground, wipe dirt from the fill plug, pull the dipstick, wipe it clean, and check the level following the manual. If low, add the engine maker’s recommended oil grade until it reaches the upper fill mark.
Change the oil while the engine is warm so contaminants drain with the old fluid. Place a pan beneath the drain plug, remove the plug, and empty the crankcase. Clean and tighten the drain plug, refill with fresh oil, and wipe away spills to keep soil from sticking to the frame.
Inspect the air filter and spark plug
Dry garden soil creates dense dust clouds that quickly clog the air filter. Restricted airflow causes rich combustion, fouled plugs, and carbon buildup. A torn filter allows abrasive grit directly into the cylinder, ruining piston rings.
Inspect the filter element after dusty work. Wash foam pre-cleaners in warm water with mild detergent, rinse, squeeze dry in a clean cloth, and let them air dry completely. For paper cartridges, tap the element gently against wood to dislodge dust. Never use compressed air, which can puncture filter media. Replace torn or oil-soaked filters promptly.
Inspect the spark plug seasonally. Disconnect the spark plug lead and remove the plug with a socket. Light tan deposits indicate healthy combustion, while wet black soot signals rich fueling or an obstructed air intake. Clean deposits with a wire brush, verify the ceramic insulator is free of cracks, and confirm the electrode gap matches manufacturer specifications before reinstalling.
Check drive belts, tension, and control cables
Most walk-behind tillers use V-belts to transfer crankshaft power to the transmission. Heat, pulling strain, and vibration stretch belts and cause slippage.
Remove the belt guard and check the belt for common wear signs:
- Cracks along inner ribs.
- Glazed sidewalls from pulley slippage.
- Frayed edges or exposed cords.
- Oil contamination from leaking seals.
Check clutch lever engagement. The idler pulley must press firmly against the belt without running out of cable adjustment. If the tines stall in dense soil, tighten the cable barrel nuts. Replace any belt that is cracked or slipping after adjustment.
Lubricate the gearbox and pivot points
The transmission on a rear tine or front tine tiller houses hardened gears, sprockets, and chains running under sustained load. Fresh lubricant protects these parts from galling and wear.
On oil-filled transmissions, remove the check plug with the machine parked on level ground. The fluid should reach the lower threads of the inspection port or register on the dipstick. Top it up with the recommended gear oil if low. For grease-packed gear cases, follow the maker’s service guidelines. Check tine shaft seals for oily wetness, which indicates a failing seal that requires replacement before dirt enters the bearings.
Apply chassis grease or dry silicone to external pivot points, including wheel axles, drag stake pivots, and throttle linkages. Keep lubricants off pulleys and belts to avoid slippage.
Prepare the fuel system for seasonal storage
Degraded fuel causes most spring starting troubles. Ethanol blends absorb atmospheric moisture, phase-separate, and leave varnish deposits in carburetor passages when left idle.
For seasonal storage, use a proven fuel preservation routine. Either add fuel stabilizer to fresh gas, run the engine briefly to circulate treated fuel into the carburetor, and top off the tank to reduce air space; or drain the fuel tank completely, run the engine until it stops, and loosen the carburetor bowl screw to drain remaining fuel.
Store the tiller in a dry shed away from moisture and corrosive fertilizers. Park on wood planks or rubber mats to keep tires off damp soil.
Adjust tine depth and manage ground conditions
Proper adjustment keeps your machine working efficiently without straining the drive train. The drag stake controls forward travel speed and tine digging depth.
In hard soil or sod, set the depth regulator for a shallow cut. Allow the tines to shave surface vegetation and break the crust before adjusting the regulator deeper for subsequent passes. For detailed guidance on tine setup and working depths, see our guide on how deep a tiller digs and our overview of tiller sizes.
Never force a tiller through soaked soil. Working wet ground ruins soil structure by forming dense clods, while placing severe shock loads on the tine shaft and transmission.
Tiller lawn maintenance and bed preparation
Acreage landscaping and tiller lawn maintenance require clear work areas. Before tilling for a new lawn section, garden expansion, or cover crop, walk the plot to clear stones, branches, wire, and irrigation lines.
Mark obstacles with landscape flags to avoid striking boulders, pipes, or heavy tree roots. Hidden rocks dull cutting edges and can shear tine drive pins. For handling techniques on rough ground, consult our guide on how to use a rear tine tiller.
Safety
Always contact utility locator services before tilling new ground to mark buried utility lines, gas pipes, and electrical cables. Striking a buried line causes severe property damage and injury.
Wear eye protection, heavy hearing protection, and sturdy leather work boots with non-slip soles. Clear sticks, surface stones, and wire before starting. Keep children, pets, and bystanders away from the work area.
Shut off the engine and disconnect the spark plug wire before inspecting tines, clearing jams, or adjusting belts. Refuel only outdoors with the engine off and cool. Never operate a walk-behind tiller on steep slopes where you could lose footing.
FAQ: mowing large lots
How often should tiller maintenance be performed?
Clear debris from tines and check engine oil before and after each use. Check the air filter during dusty work. Comprehensive service, including oil changes, belt inspections, and spark plug cleaning, should occur at the start and close of each gardening season.
Can I wash my tiller with a garden hose?
You can rinse dried dirt from the tine shield and blades, but avoid spraying water near the engine, carburetor, or shaft seals. Water entering past seals contaminates transmission oil. Let the machine dry thoroughly and wipe metal parts with an oily cloth to prevent rust.
Why is my tiller bouncing instead of digging into the ground?
Bouncing happens when tines are dull or bent, or when the ground is too hard for the selected setting. Set the depth regulator for a shallower pass initially, verify that cutting edges face into the direction of rotation, and sharpen rounded blades with a hand file.
How do I store a tiller for the winter?
Clean soil from the underbody, change engine oil, and treat or drain the fuel system. Remove the spark plug, add a splash of clean engine oil into the cylinder, and pull the starter rope gently to coat cylinder walls before reinstalling the plug.
Should I change tiller engine oil in the spring or the fall?
Changing oil in the fall is preferred because used oil contains moisture and acidic combustion byproducts that can pit metal during winter storage. If skipped in the fall, change the oil in spring before using the tiller.