String Trimmer Maintenance: Step-by-Step Care Guide
A practical guide to string trimmer maintenance: head cleaning, spool care, line sizing, air filter and spark plug upkeep, and off-season storage.

On this page
Top picks at a glance
As an Amazon Associate I earn from qualifying purchases.
- 1
 Wild Badger Power 52cc 2-Cycle Weed Wacker String Trimmer9.6/10View on Amazon
- 2
 Husqvarna 130L Gas String Trimmer9.6/10View on Amazon
- 3
 Husqvarna 122LK Grass Trimmer9.6/10View on Amazon
String trimmer maintenance keeps your equipment running smoothly across fence lines, ditch banks, tree rings, and rough property borders. Regular upkeep prevents hard starting, line feed jams, motor overheating, and premature engine wear on acreage trimmers. This step-by-step guide walks through the essential care routines for gas, battery, and corded electric models to keep cutting heads spinning reliably all season.
AcreMowerLab earns a commission when you shop through links here. It never changes your price. Affiliate disclosure.
String trimmer maintenance: core tasks by power type
| Trimmer type | Key maintenance tasks | Common issue if neglected |
|---|---|---|
| Gas 2-cycle trimmer | Clean air filter, inspect spark plug, fresh fuel mix, grease gearbox | Hard starting, carburetor gumming, engine stalling |
| Cordless battery trimmer | Clear head and motor air vents, check battery contacts, seasonal battery storage | Motor overheating, shortened runtime, battery cell damage |
| Corded electric trimmer | Inspect power cord, clear motor housing vents, check spool mechanism | Cord wear, motor burnout from restricted airflow |
Acreage owners often run both gas and battery models for different trimming chores. See our guide to string trimmer types and our roundup of the best string trimmer for acreage for equipment comparisons.
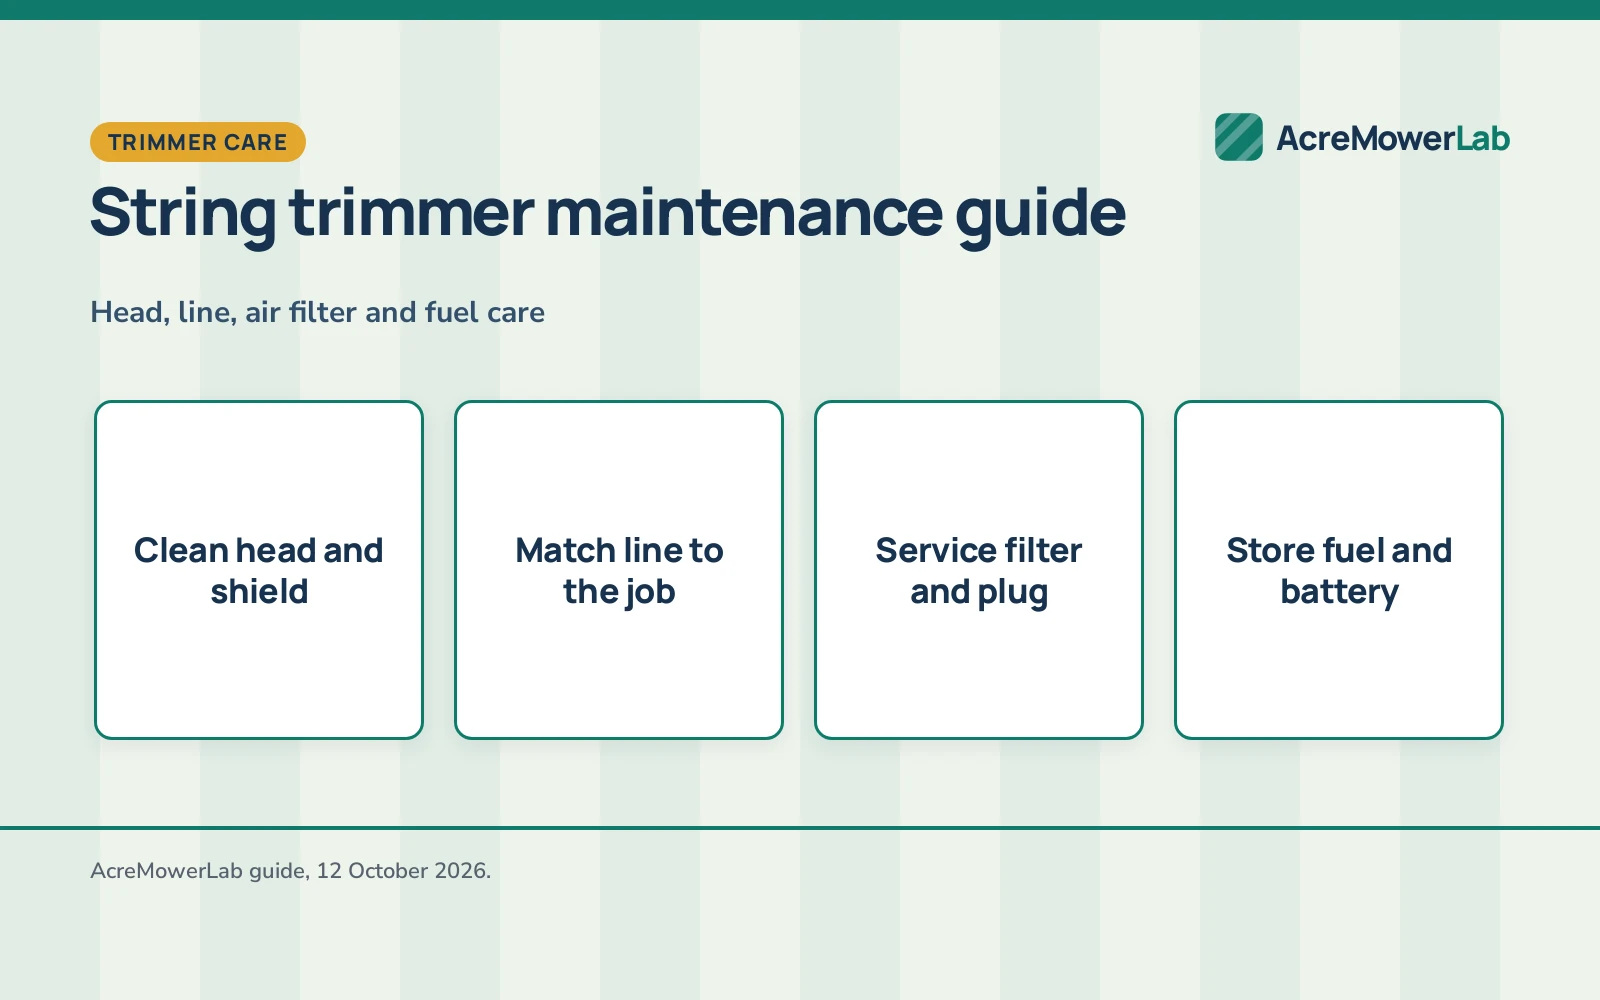
Step 2: clean the cutting head and debris shield
Shut down the tool and disconnect the power supply before servicing any trimmer component. Pull the spark plug boot on gas models, detach the battery pack on cordless tools, or unplug the extension cord on corded equipment. This eliminates the chance of an accidental start while your hands are near the cutting head.
Tall grass, weeds, and discarded wire frequently wrap around the drive arbor located behind the spool housing. Left unchecked, tangled vegetation creates severe friction, degrades shaft seals, melts plastic spool components, and overheats drive bearings. Cut away bound plant material using a utility knife, taking care not to gouge the drive shaft or bearing collar.
Next, scrape packed grass clippings, soil, and sap from the underside of the debris shield. The cutoff blade fastened to the shield trims excess nylon line to the intended cutting swath. When wet grass cakes over this blade, extended line creates heavy aerodynamic drag that overloads electric motors and centrifugal clutches. Wash the guard clean, wipe the housing, and confirm that the spool mechanism moves smoothly without sticking.
Step 3: inspect and reload the trimmer line
Nylon trimmer line degrades when exposed to heat, sunlight, and dry storage conditions. Brittle line snaps flush with the eyelets, forcing frustrating stops to dismantle the spool. Storing line spools in a humid environment or soaking brittle line in water helps restore flexibility before spooling.
When reloading line, cut the recommended length and wind it following the directional arrows molded into the spool hub. Maintain steady tension while winding so lower coils do not cross over upper loops, which causes line binding under load. Check the brass or metal eyelets in the head for grooving or sharp notches that shear line during operation.
Matching line diameter to manufacturer recommendations protects internal components. Compact cordless models use light line for edging and residential grass. For dense weeds along fence lines and rough ground, VIABRICO lists a 0.095-inch commercial-grade square nylon line, and PowerSmart lists a 0.095-inch line on its gas trimmer. Installing oversized line into smaller heads increases rotational drag and damages drive mechanisms.
Step 4: service the air filter and spark plug
Gas trimmers operate in dusty, debris-filled air clouds generated by the spinning head. The air filter prevents pulverized dirt and weed debris from entering the carburetor and scouring the engine cylinder walls. Unlatch the air box cover and inspect the filter element after heavy trimming sessions.
Foam filter elements should be washed in warm soapy water, rinsed clean, dried completely, and serviced according to the engine manual to trap fine dust particles. Paper or felt cartridges should be tapped clean or replaced when heavily soiled. Operating with a clogged filter restricts air intake, resulting in sluggish acceleration, spark plug fouling, and excessive fuel consumption.
Inspect the spark plug for heavy carbon crust, oily residue, or eroded electrode tips. Clean minor deposits with a soft wire brush and inspect the ceramic insulator for cracks. Verify that the electrode gap matches your engine manual before reinstalling. PowerSmart lists a 25.4cc 2-cycle engine on its gas trimmer, where clean airflow and dependable spark ignition are essential for smooth running.
Step 5: maintain fuel systems and battery packs
Fuel degradation represents the single most common cause of gas trimmer starting failure. Stale fuel containing ethanol absorbs ambient humidity, separates into corrosive layers, and forms sticky varnish that clogs microscopic carburetor jets. Always use fresh fuel mixed with quality oil, or run premixed ethanol-free canister fuel. Inspect the fuel tank filter clunk and replace cracked, brittle fuel delivery lines.
Cordless battery trimmers require clean electrical connections and sensible thermal storage. Wipe dirt, grass juice, and moisture from the battery mounting terminal contacts on both the tool and charger. Inspect tool air intake vents around the motor housing to ensure cooling air flows unobstructed.
Keep lithium-ion battery packs in dry, climate-controlled storage rather than leaving them in freezing outbuildings or direct sunlight. Boltarc lists 21V tools with 4.0Ah batteries, ALSO GO lists 21V trimmers with 2.5Ah batteries, and Greenworks lists a 40V system with a 2.0Ah battery. On corded models, BLACK+DECKER lists a 6.5-amp motor with a cord retention system; inspect extension cords regularly for cuts, exposed wiring, or damaged strain reliefs.
Inspect the shaft, drive system and gearbox
Drive designs differ across trimmer configurations. Gas trimmers and rear-motor cordless units rely on either a solid steel drive shaft or a flexible steel cable inside the main tube to transmit power to the cutting head, whereas front-motor electric models mount the motor directly above the head. Regularly check shaft clamping bolts and handle mounting brackets for vibration loosening, especially on split-shaft tools with interchangeable attachments.
Straight-shaft trimmers fitted with a lower bevel gearbox require periodic lubrication. Where a grease access screw is present on the side of the gear housing, verify that clean gear grease fills the chamber. Add high-temperature grease formulated for outdoor power equipment gearboxes when low. Operating a bevel gear head without adequate lubricant causes rapid gear tooth wear and bearing seizure.
Check telescoping shafts and pivoting mechanisms for smooth adjustment. Clean dirt, fine sand, and dried plant fibers from locking collars and angle pivots so adjustment pins lock firmly into their detents.
Match line thickness to cutting conditions
Line diameter influences cutting performance and engine or motor load. Lighter trimmer line slices cleanly through fine grass along borders with minimal air resistance. Heavier line carries the mass needed to fell tough, fibrous weeds and woody stalks along pastures and fence rows, but creates greater rotational drag that requires adequate tool power.
Equipment makers balance cutting swath and line requirements across their designs. SENIX lists a 10-inch cutting width, ALSO GO lists a 12-inch path, BLACK+DECKER lists a 14-inch cut path, and PowerSmart lists a 16-inch cutting width alongside a 10-inch blade. Line selection should match the tool maker’s rated capacity: VIABRICO lists a 0.095-inch commercial-grade square nylon line designed for heavy clearing, while lighter trimmers specify smaller line diameters. Stated operating speeds reflect these engineering balances; Greenworks lists 7500 rpm on its trimmer, BLACK+DECKER lists 8000 rpm, Boltarc lists 9000 rpm, and ALSO GO lists 9500 rpm. Installing line heavier than the manufacturer specifies increases drag, bogs down operating speed, and overloads drive components.
Store trimmers properly between seasons
Proper seasonal storage protects your string trimmer from costly off-season deterioration. Before putting a gas trimmer away for the winter, empty the fuel tank completely and run the engine at idle until it stops from fuel starvation. This purges leftover fuel from the carburetor passages, preventing residual fuel from evaporating into sticky varnish that clogs carburetor jets and passages.
Remove the spark plug, pour a small amount of clean oil into the cylinder, and pull the starter rope slowly to coat the piston rings and cylinder bore against corrosion. Reinstall the plug finger-tight to keep dirt out during storage. Clean the exterior shroud, remove weed debris, and hang the trimmer horizontally or vertically from dedicated wall hooks away from damp concrete floors.
For cordless electric trimmers, detach the battery pack, wipe the tool clean, and store the battery in a dry room. Keeping batteries away from freezing winter temperatures and damp conditions preserves internal cell capacity and prolongs overall pack life.
Troubleshoot common trimmer running problems
When a trimmer refuses to start or bogs down during operation, follow a systematic check of core operating requirements. For gas models, check that the ignition switch is set to run, verify that fresh fuel reaches the carburetor through the primer bulb, and confirm the spark plug wire seats firmly onto the terminal.
If the engine starts but stalls under throttle, inspect the spark arrestor screen inside the muffler exhaust outlet. Carbon deposits frequently plug this fine mesh screen, choking exhaust flow and causing severe power loss. Clean the screen with a stiff wire brush or replace it if damaged.
When line fails to feed properly, disassemble the spool assembly to inspect for line welding, cross-wound strands, or dirt packed inside the feed mechanism. Excessive handle vibration usually signals an unbalanced cutting head, broken eyelets, or uneven line lengths protruding from opposite sides. Because trimmer heads rotate at high speeds, an uneven head assembly creates violent vibration that fatigues hands and loosens fasteners.
Safety
Always wear impact-rated eye protection, hearing protection, long pants, and sturdy footwear whenever operating or servicing a string trimmer. Spinning trimmer heads throw gravel, small sticks, and hidden metal fragments at high velocities in all directions.
Walk your trimming zone before cutting to clear rocks, wire, cans, and fallen branches. Keep children, pets, and bystanders at a safe distance from the operating perimeter. Never operate a string trimmer with a damaged or missing debris guard, as the shield directs flying debris down and away from the operator.
Shut down the power source completely before untangling line, clearing grass wraps, or changing cutting attachments. Allow gas engines to cool down fully in an open outdoor area before refueling, and keep fuel containers stored away from ignition sources. See our Safety Disclaimer.
FAQ: mowing large lots
How often should string trimmer maintenance be done?
Clean the cutting head, arbor, and debris shield after each trimming session. Inspect the air filter, spark plug, and line spool periodically throughout the mowing season, and complete full fuel system drainage or battery storage preparation before winter.
Why does string trimmer line weld together on the spool?
Line welding happens when high friction and heat develop inside the cutting head. Operating the trimmer continuously against heavy obstacles or running with poor line winding tension causes overlapping line coils to fuse together.
Can I install thicker line than my trimmer specifies?
No. Using line thicker than the manufacturer recommends increases aerodynamic drag, reduces rotational speed, and causes excessive heat buildup in clutches and electric motors.
How do I clean a clogged spark arrestor screen on a gas trimmer?
Remove the muffler cover on the gas engine, take out the wire mesh spark arrestor screen, and brush away carbon buildup using a wire brush before reinstalling the clean screen.
Should I leave gas in my string trimmer over the winter?
No. Stale fuel oxidizes and forms gummy residue that blocks narrow carburetor passages. Always drain the fuel tank and run the engine dry before seasonal storage.
More mowing guides
- String Trimmer Types: Complete Guide to Shafts, Power, and Cutting Heads
- Best String Trimmer for Acreage: 4 Gas and Battery Picks
- Best Gas String Trimmer (2026): 5 Top Picks for Large Lawns and Acreage
- Best Cordless String Trimmer: 5 Top Picks Compared (2026)
Use the Mower Matcher to narrow down choices by acreage, terrain, budget, and power type.