How to Set Up a Flail Mower
A step-by-step guide to setting up a flail mower on your tractor, from hitch attachment and top link leveling to PTO driveline fit, roller height and belt tension.

On this page
Top picks at a glance
As an Amazon Associate I earn from qualifying purchases.
- 1
 Earthquake Walk-Behind String Mower9.6/10View on Amazon
- 2
 YARDMAX YL2250 22 in. 170cc Gas Walk Behind String Trimmer9.6/10View on Amazon
- 3
 Earthquake 60V Walk Behind String Mower9.5/10View on Amazon
- 4
 DREAME Robot Lawn Mower A3 AWD Pro 5000 + Garage Set for 1.25View on Amazon
- 5
 Husqvarna 410iQ ½ Acre Wire-FreeView on Amazon
- 6
 MechMaxx 78" Heavy Duty PTO Drive Offset Ditch Bank VergeView on Amazon
To know how to set up a flail mower on rural acreage with overgrown pastures and rough ground, park the tractor on level ground, connect the lower hitch lift arms, adjust the top link until the deck sits level, connect the PTO driveline with adequate overlap, set the rear roller cutting height, and verify belt tension and gearbox lubricant. This guide explains each adjustment step by step so your implement cuts cleanly without scalping or straining your driveline.
Other machines to compare
 DREAME Robot Lawn Mower A3 AWD Pro 5000 + Garage Set for 1.25Check price on Amazon
 Husqvarna 410iQ ½ Acre Wire-FreeCheck price on Amazon
 MechMaxx 78" Heavy Duty PTO Drive Offset Ditch Bank VergeCheck price on Amazon
AcreMowerLab earns a commission when you shop through links here. It never changes your price. Affiliate disclosure.
How to set up a flail mower: connect the lower hitch arms
| Component | Adjustment | What to check |
|---|---|---|
| Lower lift arms | Pin height and sway stabilizers | Keep arms level side to side and limit excess sway for straight tracking |
| Top link | Turnbuckle length | Lengthen or shorten until the gearbox deck sits level from front to back |
| PTO driveline | Telescoping shaft overlap | Confirm adequate engagement across full travel without bottoming out |
| Rear roller | Side bracket bolt holes | Carry mower weight across uneven ground and set grass stubble height |
| Drive belts | Tensioner adjustment bolt | Check belt deflection so rotor turns smoothly under load without slipping |
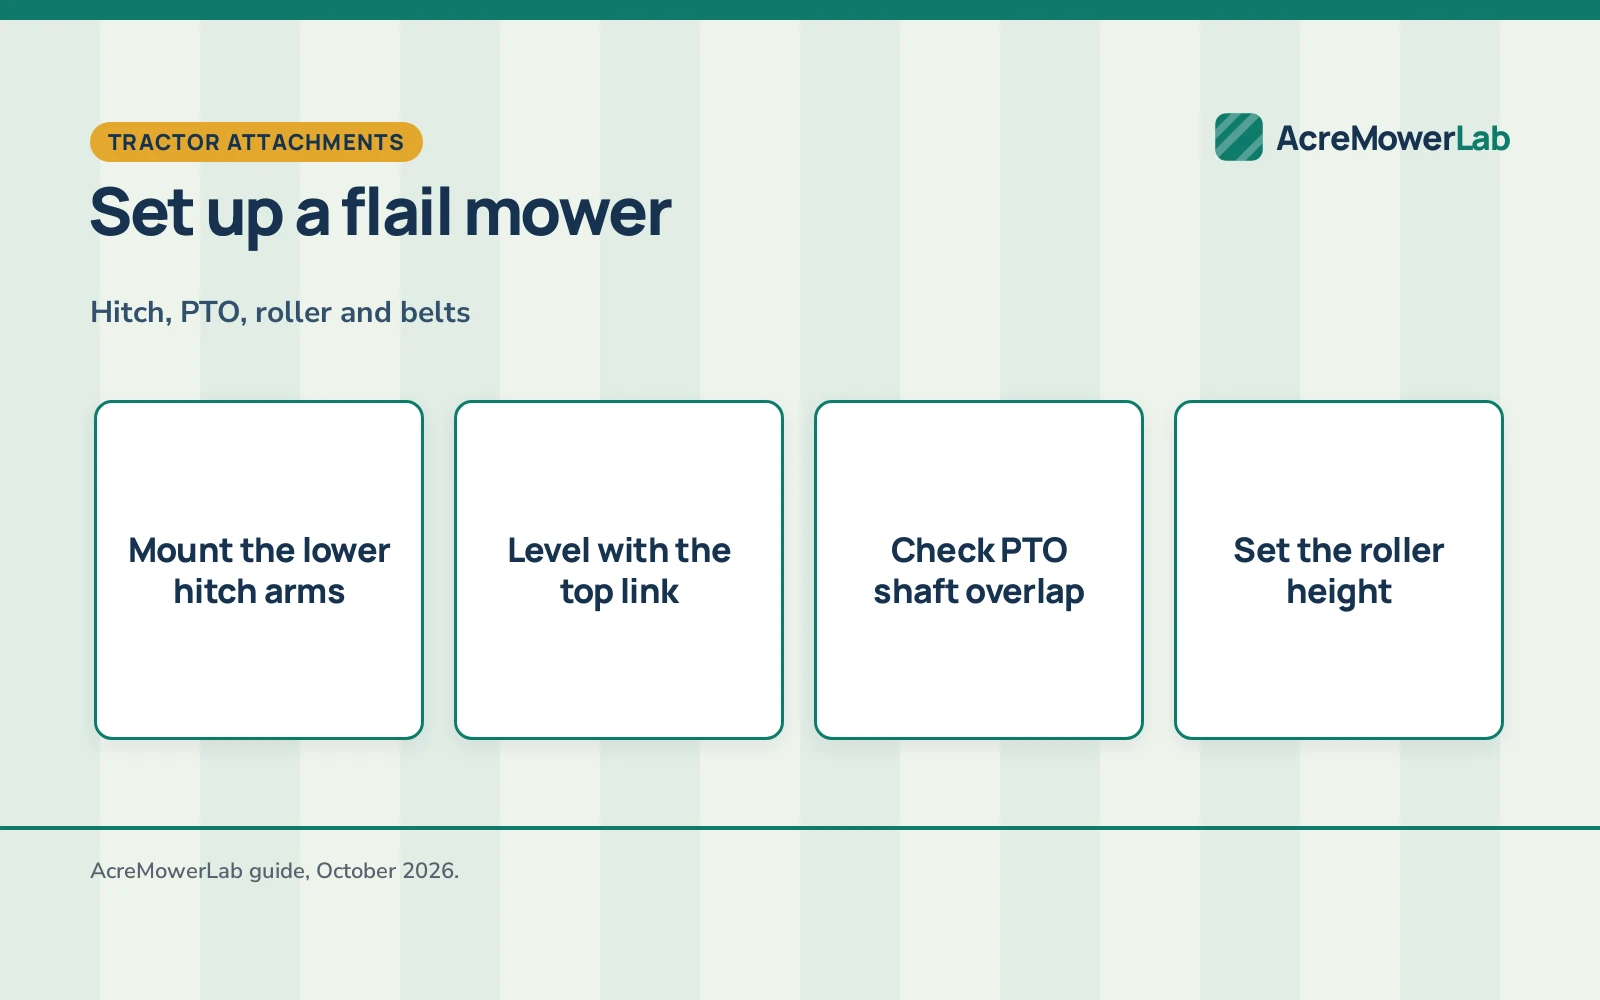
Back the tractor slowly toward the mower frame on level ground. Lower the hitch lift arms to align with the mower pins. Slip the left lift arm onto its pin, secure it with a locking lynch pin, and attach the right lift arm using the tractor leveling crank if needed.
Adjust the sway chains or stabilizer bars to limit lateral drift while allowing free vertical travel. Centering the implement behind the tractor tires prevents driveline misalignment during mowing passes. See our brush and field mower guides for broader equipment choices.
Step 2: adjust the top link to level the deck
Attach the tractor top link to the mower upper mast with the hitch pin and cotter clip. For undulating pastures, using a slotted top link hole allows the mower to float over ground contours without lifting the tractor rear wheels.
Lower the mower until the rear roller rests on level ground. Rotate the turnbuckle until the mower deck sits parallel to the surface. A deck pitched forward drives knives into the dirt, while a deck pitched backward leaves ragged stalks. Tighten the turnbuckle jam nut to lock the setting.
Step 3: measure and fit the PTO driveline
Connecting the driveline requires confirming shaft length before the tractor runs. Separate the mating halves, attach each yoke to the matching splined shaft until the locking collars snap into place, and pull firmly to confirm engagement.
Hold the halves parallel beside each other and cycle the hitch through its full height range. At the shortest point of travel, the telescoping tubes require adequate clearance to avoid bottoming out against the universal joints. Across the full travel range, the shafts need substantial engagement overlap to prevent separation under torque. If shortening is necessary, cut equal lengths from both inner and outer profile tubes and shields, deburr, apply grease, and attach guard anti-rotation chains.
Step 4: adjust the rear roller cutting height
On rear-mounted flail mowers, the working weight of the rear housing rests on a heavy steel roller rather than gauge wheels. This roller establishes cutting height and supports the frame so spinning flails maintain consistent ground clearance.
Support the mower securely with mechanical stands or solid wood blocking on level ground; never rely on tractor hydraulics while working around the deck. Remove the roller end bracket bolts. Position the brackets closer to the housing for lower cutting height, or extend the roller farther below the housing for taller pasture stubble. Align both sides to identical hole positions, re-torque hardware, and keep skid shoes adjusted to prevent side plate gouging.
Step 5: verify belt tension and gearbox lubricant
Remove the side belt shield and inspect the drive V-belts. Press firmly between pulleys to check deflection. If loose, adjust the tensioning bracket until belts are snug. Slack belts slip and overheat in dense brush, while overtightened belts stress rotor bearings.
Check gearbox oil using the check plug or dipstick on the case, topping off with heavy gear oil if below the check port. Clear the breather plug of debris, and grease the rotor end bearings, roller hubs, and PTO universal joints until fresh grease emerges. Reinstall the belt guard before mowing. Review our sub-compact tractor guide for machine pairing advice.
Walk the acreage and clear debris
Walk pasture acreage on foot before mowing. While flail mowers chop thick grass and light brush into fine mulch, solid obstacles cause severe damage. Discarded wire, irrigation pipe, and large stones wrap around the rotor or chip knives.
Mark stumps, washouts, and bedrock ledges with bright surveyor tape so you can steer clear of them. For properties with dense saplings where a tractor cannot navigate, see our guide on how to clear an overgrown field.
Match flail mower setup to vegetation type
Match your flail knives to property vegetation. Grass Y-blades provide high suction and clean mulching in pasture grass and cover crops. Heavy cast-iron hammer blades offer the momentum required for dense brambles and woody prunings.
Regulate forward ground speed according to vegetation density while maintaining rated PTO operating speed. For fence lines and tight perimeters where a rear tractor implement cannot turn, consider using a walk-behind brush mower.
Plan your mowing pattern across acreage
Mow perimeter swaths around field boundaries initially to leave adequate headland turning space. Flail mowers disperse shredded material evenly across the cutting width without depositing heavy side windrows.
Overlap each pass slightly to ensure complete coverage between tire tracks. Lift the mower slightly with the hitch quadrant before making headland turns to protect the roller and driveline, lower the deck smoothly, and continue the pass.
Mind slopes, obstacles, and wet ground
Rear-mounted flail mowers reduce weight on tractor front steering tires when lifted. Equip your tractor with front ballast weights or a lowered loader bucket to maintain positive steering control on hills.
Exercise caution on sloping terrain, keeping the implement low and avoiding steep inclines. Soft, wet ground allows the heavy roller to sink, pulling knives into mud and inducing wheel slip. After wet or muddy mowing sessions, follow our steps to clean a mower deck, and touch up dull cutting edges using a recommended blade sharpener.
Safety
Always disengage the tractor PTO, lower the mower to the ground, set the parking brake, shut off the engine, and remove the key before servicing or unclogging the machine. Never work beneath an implement supported only by hydraulics; always use solid mechanical stands.
Wear eye protection, heavy boots, and hearing protection during operation. Keep children, pets, and bystanders away from the work zone to protect against thrown debris. Keep your tractor roll-over protective structure upright and fasten your seat belt.
FAQ: mowing large lots
How high should a flail mower cut pasture grass?
Adjust the rear roller so knives clear the soil surface without scalping, leaving standing stubble to preserve plant crowns and protect blades from rocks.
Should the top link be rigid or floating when mowing?
A slotted top link hole allows the mower to float over rises and dips in uneven pasture, while a rigid connection works best on flat turf.
How do I know if the PTO shaft is the proper length?
Check for clearance at the shortest travel point to avoid bottoming out, and confirm adequate telescoping overlap across full hitch movement.
Why does the flail mower leave streaks of uncut grass?
Uncut streaks typically indicate worn knives, loose drive belts slipping under load, or forward ground speed that is too rapid for the vegetation.
How often should flail mower bearings be greased?
Grease rotor bearings, roller hubs, and PTO universal joints frequently, especially when working in dusty summer fields or wet morning grass.
More mowing guides
- How to Clear an Overgrown Field
- Best Walk-Behind Brush Mower: 4 Picks for Rough Ground
- Best Mower Blade Sharpener: 4 Picks for Riders and Large Lawns
Use the Mower Matcher to narrow down choices by acreage, terrain, budget, and power type.