Flail Mower Maintenance: Step-by-Step Care Guide
A practical maintenance guide for tractor flail mowers covering PTO shaft lubrication, drive belt tension, gearbox fluid checks, and flail blade replacement.

On this page
Top picks at a glance
As an Amazon Associate I earn from qualifying purchases.
- 1
 Earthquake Walk-Behind String Mower9.6/10View on Amazon
- 2
 YARDMAX YL2250 22 in. 170cc Gas Walk Behind String Trimmer9.6/10View on Amazon
- 3
 Earthquake 60V Walk Behind String Mower9.5/10View on Amazon
- 4
 Runleader RL-HM011E Digital Hour Meter & TachometerView on Amazon
- 5
 YOOREAL Digital OEM Maintenance Hour Meter GaugeView on Amazon
- 6
 YOOREAL HM016 Vibration Hour MeterView on Amazon
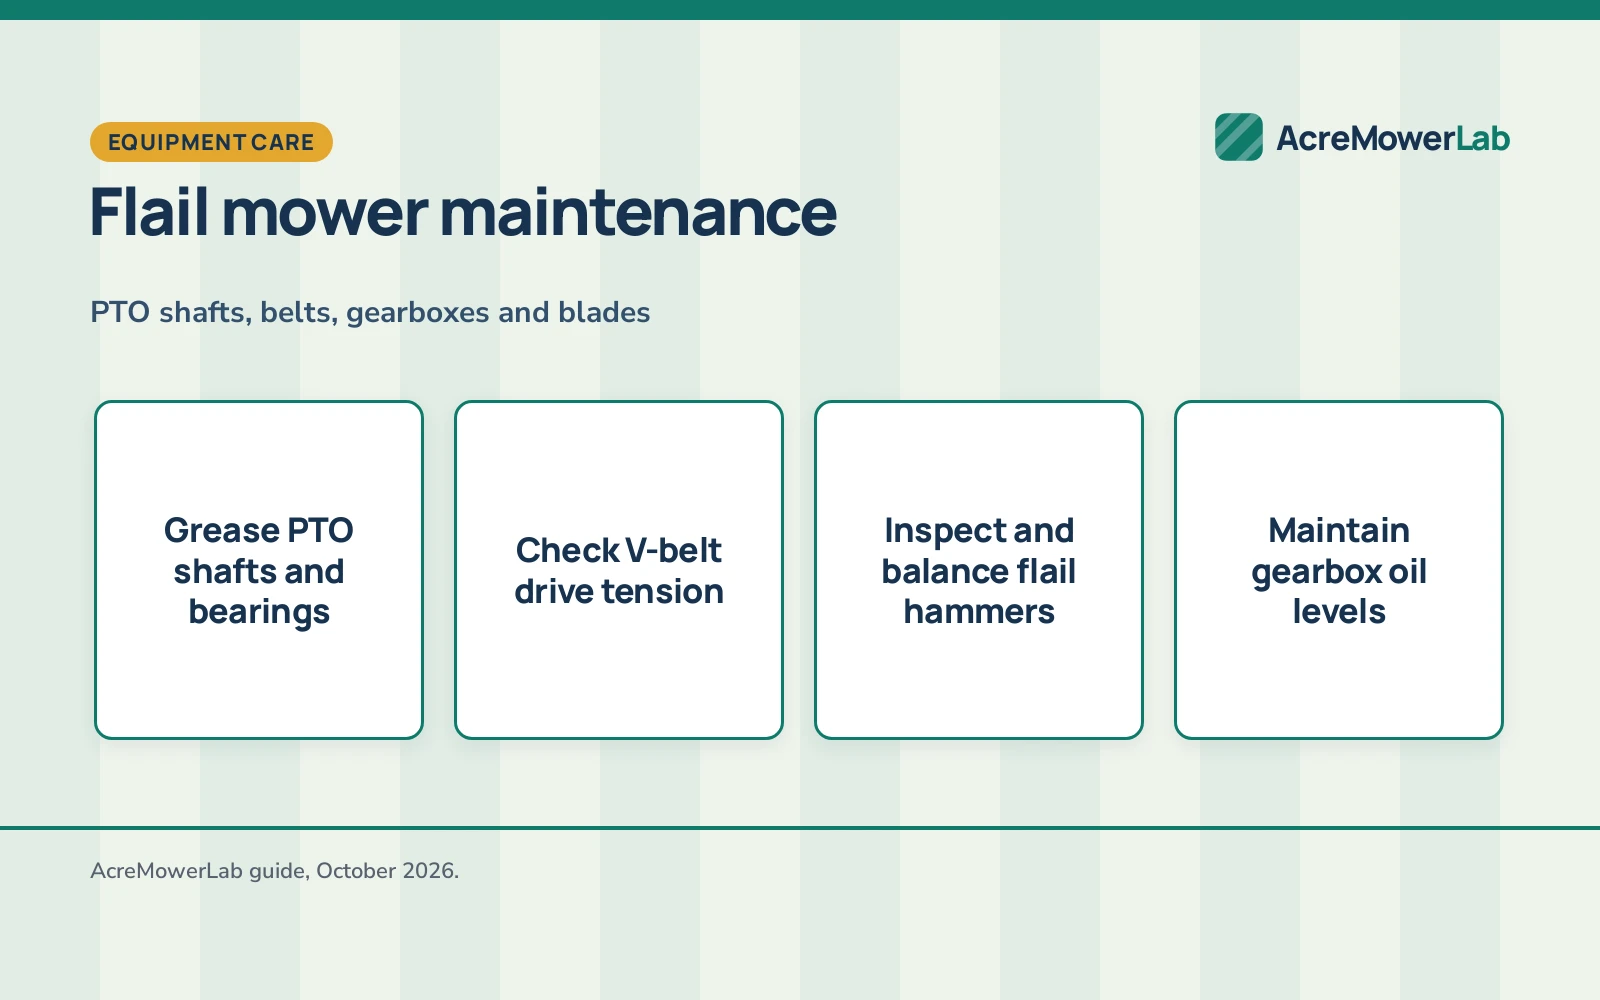
Rough pastures, overgrown field borders, and brush-choked trails across acreage put heavy strain on cutting equipment, making routine flail mower maintenance essential for reliable operation. To maintain a flail mower, grease the PTO universal joints and rotor bearings before every session, inspect the drive belts for proper tension, check the oil level in the right-angle gearbox, inspect the hammer blades for wear or missing hardware, and clean packed vegetation from the rotor drum. Staying ahead of lubrication and blade balance prevents vibration from damaging the rotor shaft and bearings. This guide walks through each service step for acreage owners.
Other machines to compare
 Runleader RL-HM011E Digital Hour Meter & TachometerCheck price on Amazon
 YOOREAL Digital OEM Maintenance Hour Meter GaugeCheck price on Amazon
 YOOREAL HM016 Vibration Hour MeterCheck price on Amazon
AcreMowerLab earns a commission when you shop through links here. It never changes your price. Affiliate disclosure.
Flail mower maintenance: checklist and service checkpoints
A flail mower uses a high-speed horizontal rotor equipped with swinging hammer or Y-blades to shred tall grass, woody brush, and saplings into fine mulch. Because the rotor spins at high speeds under heavy impact loads, small mechanical problems can escalate quickly. Setting up a regular inspection routine keeps your tractor attachment working smoothly through tough mowing conditions. If you are new to this implement, review our guides on how to set up a flail mower and how to use a flail mower before your first pass. The table below outlines the core service checkpoints.
| Component | Service task | Inspection schedule |
|---|---|---|
| PTO drive shaft | Grease universal joints, check sliding splines and safety shield | Before each mowing session |
| Drive belt system | Inspect belt tension, check pulley alignment and wear | Daily during active field mowing |
| Rotor and hammer blades | Inspect hammers for missing hardware, cracks, and balance | Before each operation |
| Gearbox | Check oil level at fill plug and inspect seals for seepage | Prior to seasonal work |
| Rear roller and bearings | Pump grease into side bearings and clean packed mud | After heavy field mowing |
Most acreage owners handle these checkpoints in the barn with basic hand tools. Our brush and field mowers section covers additional implement recommendations for clearing overgrown land.
Greasing and inspecting the PTO drive shaft
The PTO drive shaft transfers tractor engine power directly to the flail mower gearbox. Because it operates under angle variations and constant vibration, driveline neglect leads to rapid universal joint failure and damaged tractor splines.
MechMaxx and BILT HARD list a standard tractor PTO shaft speed of 540 RPM for their Category 1 3-point hitch flail mowers. On offset ditch bank models, MechMaxx specifies a rotor shaft speed of 2356 rpm, showing how rapidly rotational forces multiply through the driveline. Grease each universal joint cross-bearing through its zerk fitting until fresh grease purges past the bearing seals. Separate both halves of the telescoping PTO shaft and wipe away old grease, grit, and chaff. Coat the sliding splines with fresh chassis grease so the shaft slides freely as the 3-point hitch raises and lowers across uneven ground.
Spin the outer plastic safety shields by hand to confirm they rotate freely on their nylon bearings. Fasten the safety restraint chains to fixed anchor points on the tractor and the mower housing to keep the plastic shields stationary while the inner steel shaft spins at 540 RPM. If a shield is cracked, damaged, or binding, replace it immediately.
Checking and adjusting drive belt tension
Most Category 1 flail mowers use multiple V-belts running from the gearbox output pulley down to the rotor pulley. These belts absorb shock when hammer blades strike hidden rocks, stumps, or dense wood, protecting the tractor driveline from sudden shock loads.
Remove the side belt cover before starting work. Inspect each belt for cracks, fraying, glazing, or missing cogs. Press firmly on the belt midway between the pulleys with your thumb. The belt should deflect slightly under firm pressure without slipping on the pulley grooves. If the belts feel slack, loosen the gearbox support bolts and adjust the tensioning bolt to take up excess play, then tighten all locknuts firmly. Always replace belts in matched sets; mixing a new belt with stretched, worn belts causes uneven load distribution and premature belt failure.
Keep pulleys clean and free of oil or grease. If oil seeps from the upper gearbox output shaft onto the belts, replace the shaft seal before installing replacement belts. Clean out packed chaff, dry grass, and weed seeds from inside the belt guard, as accumulated plant debris traps heat and increases fire risk during hot summer mowing.
Servicing the flail rotor, hammer blades, and hardware
The rotor drum is the core cutting assembly of the mower. Flail blades swing on mounting shackles or through-bolts welded to the drum. Operating in rough fields exposes these blades to brutal impacts against soil, embedded stones, and thick saplings.
In their published product specifications, MechMaxx specifies 24 hammer blades on its 60-inch Category 1 mower and 20 hammer blades on its 48-inch model, while BILT HARD equips its 53-inch Category 1 mower with 18 alloy steel hammer blades. MechMaxx also produces walk-behind models featuring 38 Y-shaped flail blades. Whether your mower uses cast iron hammer flails for heavy brush or Y-blades for field grass, inspect every blade before heading into the pasture.
Check each flail hammer for missing mounting bolts, worn bushings, and cracked cutting edges. Hammer flails dull over time, losing their square cutting corner. You can touch up blunt cutting edges using an angle grinder or a mower blade sharpener, taking care not to remove excess steel or overheat the alloy. Crucially, flail mowers require rotational balance. If a hammer breaks off or wears unevenly, replace the damaged blade alongside its opposing counterpart across the rotor. Operating a flail rotor with missing blades causes intense vibration that quickly destroys the main rotor bearings and fractures steel welds.
Checking gearbox oil and side bearing lubrication
The right-angle gearbox redirects tractor PTO rotation through hardened bevel gears to drive the side pulley shaft. Gearboxes generate substantial heat when mulching thick brambles or running continuously across large acreage.
Check the oil level before every major mowing session. Park the tractor and flail mower on level ground, lower the implement, and wipe dirt away from the oil inspection plug. Unscrew the level plug on the side of the gearbox housing. Lubricant should sit level with the bottom threads of the inspection port. If the level is low, add recommended gear oil through the upper breather plug. Inspect the lower seal and input shaft seal for active seepage. If water enters the gearbox through a damaged breather or seal, the oil will turn milky and must be drained and replaced promptly.
At the opposite end of the rotor drum, locate the heavy-duty side bearing housing. MechMaxx listings note sealed tapered roller bearings on standard models. Wipe the grease zerk clean and apply grease until slight resistance is felt. Avoid excessive pressure that could rupture bearing seals, but provide sufficient grease to displace moisture and grit after mowing in wet conditions.
Maintaining the rear roller and side skids
The heavy steel roller mounted across the rear of the mower sets the cutting height and follows the ground contour, preventing the rotor blades from scalping into soil. Side skids provide additional protection along ditch banks and uneven mounds.
BILT HARD and MechMaxx include adjustable rear rollers with multiple height positions, allowing cutting height adjustments from low field cuts to higher brush clearance up to 2 inches above ground. Inspect the roller scraper bar positioned along the rear cylinder. This metal scraper strips wet clay, chopped grass, and compacted debris off the roller. Adjust the scraper close to the drum without touching the steel shell. Grease the roller end bearings regularly through their grease fittings, especially after operating in damp drainage ditches.
Check the steel side skids for bottom wear. If you routinely mow rocky terraces or gravel lane edges, skids wear thin over time. Replace worn skid shoes before the side plates of the mower housing make contact with the soil.
End-of-season storage and off-season care
When fall mowing concludes and the tractor is prepared for winter, proper implement storage protects your investment against moisture and rust.
Wash the entire deck housing, undercarriage, and rotor drum to remove acidic plant sap, packed thatch, and dried mud. Allow the implement to dry thoroughly in the sun. Inspect the underside for scraped paint and coat bare metal with rust-preventative oil or enamel primer. Coat the exposed PTO spline shafts and grease zerks with fluid film or chassis grease. Slacken the tension on the V-belts slightly during extended winter storage so the rubber belts do not develop permanent memory or strain the pulley bearings.
Store the mower inside a dry shed or barn on level concrete or wood blocks. Deploy the built-in parking kickstand so the 3-point hitch frame remains upright and ready for spring hookup. For gas-powered walk-behind models like the MechMaxx SFM27T, the maker specifies 10W-30 engine oil for its 302cc engine; change engine oil before winter storage and stabilize or drain fuel to protect internal carburetor jets.
Safety
Maintaining a flail mower requires strict safety precautions around heavy rotating parts and 3-point tractor linkages. Always disengage the tractor PTO, lower the mower completely to the ground, set the tractor parking brake, shut off the engine, and remove the ignition key before inspecting, greasing, or adjusting any component. Never crawl beneath an implement supported solely by tractor hydraulic 3-point arms; always support the mower housing on heavy-duty mechanical jack stands or solid wooden blocking.
Wear heavy leather work gloves when handling hammer blades to prevent puncture wounds from burrs and sharp metal edges. Wear eye protection and hearing protection when operating the tractor or using grinders. Ensure all front safety chains or protective flaps remain intact to stop flying rocks and debris. When working on overgrown acreage, review our guide on how to clear an overgrown field for safe terrain assessment. See our Safety Disclaimer.
FAQ: mowing large lots
How often should you grease a flail mower?
Grease PTO universal joints, the telescoping shaft splines, and main rotor bearings before every extended mowing session, or daily during heavy brush clearing. Pump grease until fresh lubricant is visible at universal joints, but avoid over-pressuring sealed rotor bearings.
How do you know when flail mower blades need replacement?
Replace flail blades when the cutting corners become rounded past the hardened edge, when blades show visible cracks, or when mounting holes wear oblong. Missing blades must be replaced immediately to eliminate severe rotor imbalance.
What causes heavy vibration in a flail mower?
Heavy vibration is almost always caused by a missing flail hammer, unevenly worn blades, bent mounting shackles, or vegetation wrapped tightly around the rotor drum. Always shut down the tractor immediately if unexpected vibration begins.
How tight should flail mower drive belts be?
Drive belts should deflect slightly under firm thumb pressure midway between the pulleys. Belts that are too loose slip and burn under heavy brush loads, while over-tightened belts cause rapid bearing failure in the gearbox and rotor shaft.
Can you sharpen flail mower hammer blades?
Yes. Cast steel hammer flails can be touched up with a hand grinder to restore their cutting corner. Remove equal amounts of steel from opposing blades across the drum to ensure the rotor maintains rotational balance.
More mowing guides
- How to Use a Flail Mower
- How to Set Up a Flail Mower
- How to Clear an Overgrown Field
- Best Walk-Behind Brush Mower: 4 Picks for Rough Ground
Use the Mower Matcher to narrow down choices by acreage, terrain, budget, and power type.