Riding Mower Maintenance: Step-by-Step Care Guide
A practical step-by-step riding mower maintenance guide covering deck cleaning, blade sharpening, oil changes, filter service, and winter storage.

On this page
Top picks at a glance
As an Amazon Associate I earn from qualifying purchases.
- 1
 Eparts Riding Mower Garden Tractor Seat9.4/10View on Amazon
- 2
 Greenworks 80V 42" CrossoverT Cordless Riding Lawn Tractor9.5/10View on Amazon
- 3
 Electric Riding Lawn Mower9.5/10View on Amazon
- 4
 YOOREAL Digital OEM Maintenance Hour Meter GaugeView on Amazon
- 5
 Runleader RL-HM011E Digital Hour Meter & TachometerView on Amazon
- 6
 YOOREAL HM016 Vibration Hour MeterView on Amazon
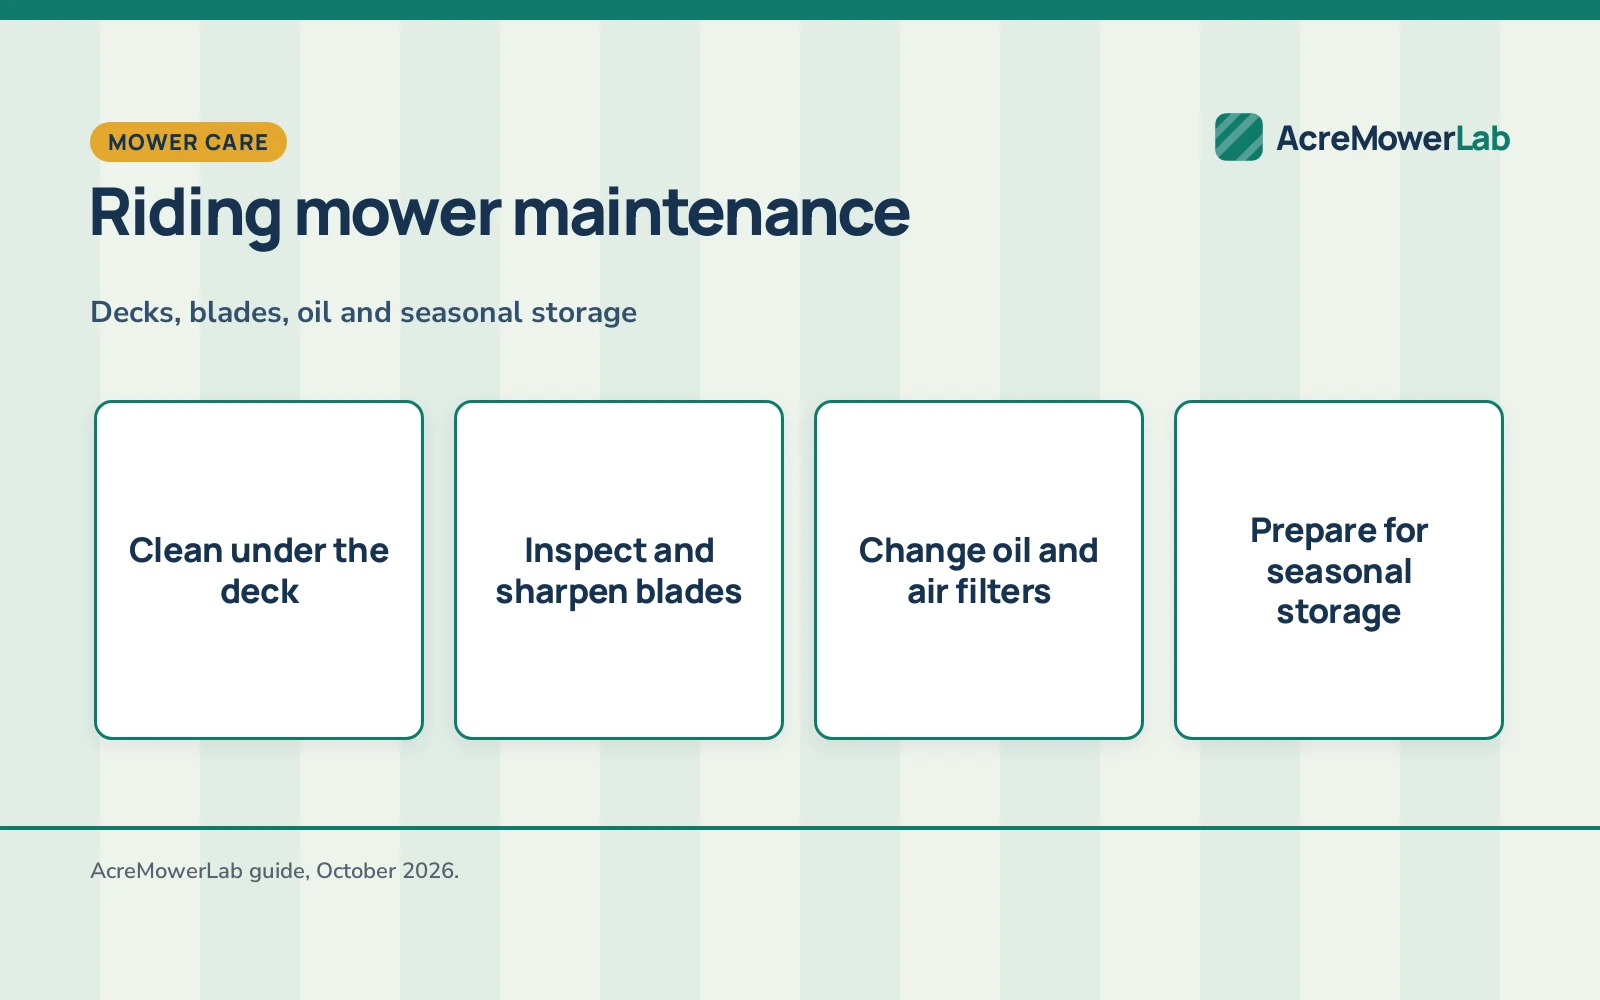
On acreage properties with rough lawns and uneven slopes, steady riding mower maintenance keeps equipment operating smoothly and prevents costly breakdowns during peak mowing months. Proper riding lawn mower maintenance requires clearing packed grass from the deck, inspecting and sharpening cutting blades when grass tips fray, changing engine oil and air filters seasonally, and preparing the fuel system and battery for winter storage. Following an organized upkeep schedule protects engine performance, preserves belt life, and ensures a clean cut across demanding terrain.
Other machines to compare
 YOOREAL Digital OEM Maintenance Hour Meter GaugeCheck price on Amazon
 Runleader RL-HM011E Digital Hour Meter & TachometerCheck price on Amazon
 YOOREAL HM016 Vibration Hour MeterCheck price on Amazon
AcreMowerLab earns a commission when you shop through links here. It never changes your price. Affiliate disclosure.
Riding mower maintenance: seasonal inspection and tune-up checklist
| Upkeep task | Focus area | Inspection interval |
|---|---|---|
| Mower deck cleaning | Underside deck housing, baffles, and discharge chute | After every heavy mowing pass |
| Blade sharpening and balancing | Cutting edges, sail wings, and mounting holes | When grass tips show fraying or tearing |
| Engine oil and filter change | Crankcase lubrication and spin-on oil filter | Start of each mowing season |
| Air filter servicing | Paper filter cartridge and foam pre-cleaner | Midseason or after mowing dusty terrain |
| Drive belt and lubrication check | Deck belts, drive belts, and grease fittings | Seasonal startup and pre-winter storage |
Following an organized upkeep routine helps prevent mechanical failure when grass is growing rapidly. For tractor-specific steps, review our lawn tractor maintenance guide.
Step 2: clear and scrape the mower deck
Packed clippings and moisture collect under the mower deck during cutting passes, trapping moisture against the metal shell and causing rust. Dried buildup also disrupts airflow needed for an even cut.
Park on flat ground, set the parking brake, remove the key, and disconnect the spark plug lead before raising the front with ramps or a service lift. Use a plastic or wooden scraper to clear caked clippings around baffles and the discharge chute without gouging paint. Scraping dry buildup prevents moisture from lingering against the shell; if rinsing with water, keep the stream away from bearings and run blades briefly to dry the housing. For complete cleaning steps, see our guide on how to clean a mower deck.
Step 3: inspect and sharpen cutting blades
Sharp blades slice grass cleanly so turf heals quickly. Dull blades tear grass, leaving ragged brown tips that invite fungal disease while forcing engines and belts to work harder.
Inspect edges whenever grass tips appear frayed. To remove blades safely, wear heavy leather gloves, wedge a wooden block against the deck housing to stop rotation, and loosen the mounting bolt with a breaker bar. Inspect each blade for gouges, thinned sails, or cracks, discarding compromised steel. Restore the cutting bevel using a file, bench grinder, or a dedicated mower blade sharpener. Verify balance before reinstalling so vibrations do not damage spindle bearings. See our guide on how often should you sharpen mower blades.
Step 4: change engine oil and replace filters
Engine oil breaks down under high summer operating heat, accumulating soot and abrasive grit that accelerates internal engine wear.
Warm the engine briefly before draining so contaminants flow out with the oil. Shut off the machine, remove the key, and set a catch pan below the drain port; using a dedicated oil extractor pump prevents spills on the chassis. If equipped with an external filter, replace the spin-on cartridge, oiling the rubber gasket before hand-tightening. Refill with fresh small-engine oil to the dipstick full mark.
Service filters during the same session. Wash foam pre-cleaners in warm soapy water, dry completely, and replace dirty paper air filter cartridges. Check the fuel filter for sediment, and inspect the spark plug for carbon buildup or worn electrodes.
Step 5: inspect drive belts and tire pressure
Belts transfer power from the engine pulley to the transmission and cutting spindles. Heat and friction cause rubber belts to stretch, glaze, and crack, reducing blade speed and causing uneven cuts.
Inspect deck and drive belts for cracks, frayed cords, and glazed sidewalls. Confirm that idler pulleys pivot freely and hold tension, replacing damaged belts before they break.
Check tire pressure across all tires using a low-pressure gauge. Uneven pressure causes the deck to cut lower on one side. Consult your operator manual for recommended front and rear pressures rather than inflating to the maximum pressure stamped on the tire sidewall. Proper tire inflation keeps the deck level side-to-side while preserving correct forward pitch.
Maintain deck spindles and lubrication points
Spindle assemblies endure heavy radial stress. Depending on design, some decks feature grease fittings on spindle housings, front axle pivot pins, and steering sectors, while others use sealed bearings requiring no grease.
Where grease fittings are present, wipe them clean and apply lithium or marine grease until fresh lubricant shows at seal edges. On sealed assemblies, rock blade tips vertically with gloves to detect bearing play, and spin pulleys by hand to check for grinding. Clear away grass packed around pulleys and belt covers to prevent heat buildup around bearing seals.
Match maintenance to deck and engine size
Maintenance requirements scale with the size and layout of each machine. For instance, the Husqvarna TS 120 listing states a 46-inch stamped deck with a 2-blade setup, a 22 HP engine, and a 2.5-gallon fuel capacity. On that model, servicing the deck involves balancing 2 blades and checking belt tension across the 46-inch housing, alongside seasonal oil changes for its 22 HP engine. Larger machines present different service demands. The Husqvarna Z254F listing specifies a 54-inch fabricated metal deck, a 24 HP engine displacing 726 cc, an item weight of 595 pounds, and 11-inch wheels. Across a 54-inch cutting deck, verifying side-to-side level and forward pitch requires careful measurement, and checking spindle assemblies on heavier equipment requires thorough inspection. Across all machine sizes, treating fuel tanks with stabilizer or draining fuel before storage keeps carburetors clean and prevents varnish.
Plan maintenance around seasonal workloads
In early spring, perform a tune-up: change engine oil and filter where equipped, install a clean spark plug and air filter, sharpen blades, verify tire pressure, and install a charged battery. Lubricate steering linkages and axle pivot pins before cutting tall growth.
During midsummer, keep engine cooling fins and flywheel screens free of chaff to avoid overheating, and scrape the deck after cutting damp grass. In late fall, clear leaf debris from the deck and clean transmission cooling fans before winter parking.
Prepare the fuel system and battery for storage
Gasoline containing ethanol degrades during winter storage, breaking down into varnish that clogs carburetor passages and damages rubber fuel lines.
Fill the tank with fresh gasoline treated with stabilizer, running the engine briefly so treated fuel circulates through the carburetor. A full, stabilized tank prevents condensation and rust; if equipped with a fuel shut-off valve, close it and run the engine dry to empty the carburetor bowl. Alternatively, drain the fuel system completely if recommended by the maker. For detailed steps, review our guide on how to store a riding mower for winter.
Disconnect battery cables, starting with the negative ground terminal, and remove the battery to a dry, frost-free location. Clean terminal corrosion with a wire brush and attach a dedicated battery maintainer for riding mowers. Clean the exterior and drape a breathable riding mower cover over the machine to shield it from dust and rodents.
Safety
Always observe equipment safety rules to prevent severe injury. Never exceed the manufacturer maximum slope rating; zero-turn mowers can lose traction on steep slopes, damp turf, and ground near ponds or ditches. Keep the rollover protective structure upright and wear your seat belt where equipped. Never carry passengers, keep children and pets out of the yard, and disengage blades before shifting into reverse.
Before maintenance, shut off the engine, set the parking brake, remove the key, and disconnect the spark plug wire before touching blades or belts. Wear heavy leather gloves, eye protection, and hearing protection when servicing cutting edges. Clear sticks and stones from the property before mowing, and refuel only outdoors with the engine off and cool.
FAQ: mowing large lots
How often should riding mower maintenance be done?
Check engine oil, tire inflation, and debris screens before every mowing session. Scrape the deck underside after heavy cutting passes, and perform a full tune-up at the start of each mowing season.
Can I clean a riding mower deck with water?
Scraping dry grass is preferred to protect bearing seals from moisture. If rinsing stubborn residue with water, avoid spraying directly into spindle bearings or electrical plugs, and run blades briefly afterward to dry pulleys and housings.
What causes uneven cutting on a riding mower?
Uneven cutting stems from unequal tire pressure, bent or dull blades, an unlevel deck, or worn spindle bearings. Setting tires to recommended operating pressures, leveling the deck side-to-side, and verifying proper forward pitch per the manual resolves most cutting height issues.
Should I remove the battery during winter storage?
Yes. Removing the battery prevents parasitic electrical drain and freezing damage. Store it in a dry location on a shelf and connect a smart battery maintainer until spring.
How do I know if my mower blades need sharpening?
If grass tips look frayed or shredded rather than cleanly sliced, blades are dull. Visible nicks, rounded corners, or increased engine strain in normal grass also indicate it is time to sharpen and balance the blades.
More mowing guides
- Lawn Tractor Maintenance: Step-by-Step Care Guide
- How to Clean a Mower Deck
- How Often Should You Sharpen Mower Blades?
- How to Store a Riding Mower for Winter
Explore our complete library of equipment guides to maintain your property efficiently through every season.