Best Way to Melt Ice on Driveway
A step-by-step guide to clearing ice from a driveway with melt, a spreader and a shovel, without damaging the concrete.

On this page
Top picks at a glance
As an Amazon Associate I earn from qualifying purchases.
- 1
 Remco Small Hand Scoop9.6/10View on Amazon
- 2
 Spot Spreader Hand Shaker9.4/10View on Amazon
- 3
 Scotts Turf Builder EdgeGuard DLX Broadcast Spreader9.4/10View on Amazon
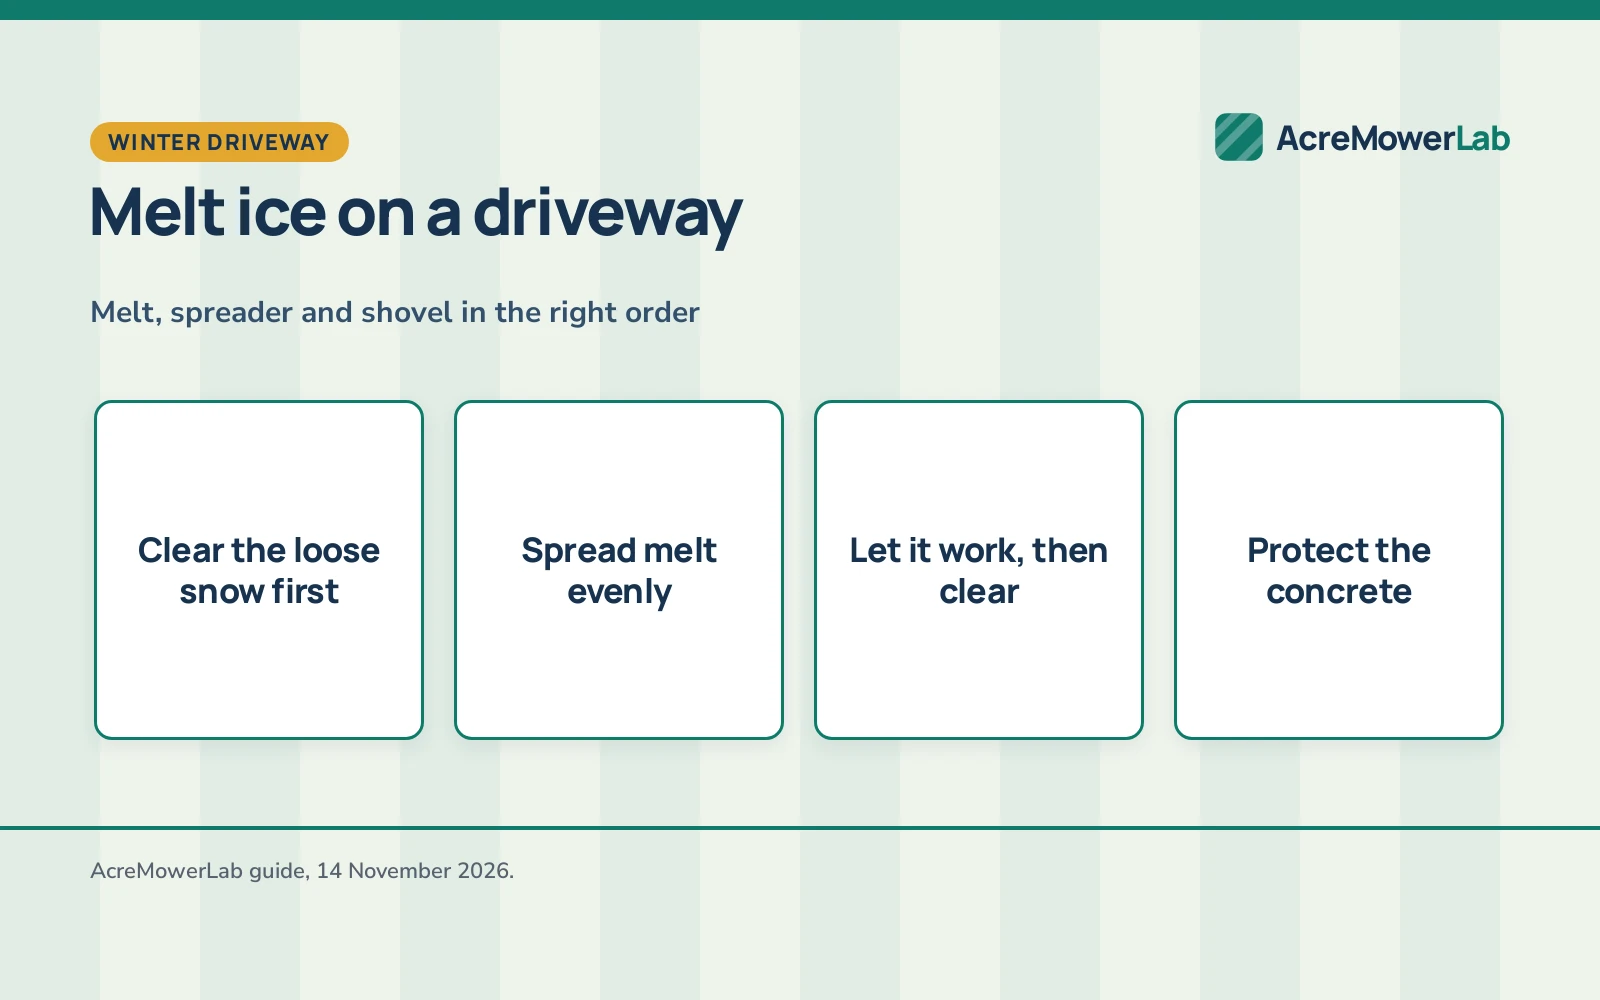
The best way to melt ice on driveway surfaces is to clear the loose snow first, spread ice melt evenly over the bare ice, let the melt work, and then clear the softened slush before it refreezes. A broadcast spreader keeps the melt even across the drive, and a shovel handles the edges the spreader misses. This guide walks through the order that wastes the least melt and leaves the least ice behind.
AcreMowerLab earns a commission when you shop through links here. It never changes your price. Affiliate disclosure.
Best way to melt ice on driveway: pick your method
| Method | Best for | Limit |
|---|---|---|
| Shovel and ice chopper | Breaking thin ice and clearing loose snow | Slow across a wide drive |
| Ice melt granules | Melting a thin sheet of ice | Needs time to work and can mark concrete when overused |
| Sand or grit | Traction on ice that will not melt | Adds no melting and needs sweeping up after |
| Broadcast spreader | Spreading melt evenly over a long drive | Needs a dry load and a steady pace |
Most driveways need two of these: melt for the ice and a spreader for even coverage. See our how to use ice melt guide for the spreading steps, and our best ice chopper for a driveway roundup for the chopping tool.
Step 1: clear the loose snow and slush
Start with the shovel, not the melt. Ice melt works best on bare ice; spread over snow, it melts a hole through the snow and only slowly reaches the ice below. Push the loose snow off the drive and onto the lawn edge, and scrape the slushy layer until the ice shows. Clear the edges and the seams where the drive meets the walk, since those strips freeze first. A clean surface also shows where the ice is thin enough to chip and where it needs melt.
Pile the snow where it will not slide back: push it to the sides and away from the walk, and on a slope pile it on the low side, away from the drive, where the meltwater drains away from the concrete.
Step 2: spread the melt evenly
Load the spreader and walk the drive in steady, overlapping passes, the same way you would spread seed on a lawn. Even coverage matters more than a heavy dose: a thick pile in one spot melts a hole while the bare patches beside it stay slick. The Amazon Basics broadcast spreader covers (on Amazon) up to 5000 square feet in one load from a 0.5 cubic feet hopper, so a drive up to 5000 square feet takes one load without a refill. For steps and narrow walks, spread by hand with a gloved hand and keep the melt off the lawn edge.
Walk the long way down the drive and back, overlapping each pass by half its width, and turn the spreader off at the ends and edges, where the melt would land on the lawn.
Step 3: let the melt work, then clear the slush
Give the melt time to soften the ice before you shovel again. The granules need contact with the ice to work, and scraping too soon just moves unmelted granules off the drive. When the ice turns soft and slushy, shovel it off the drive toward the low end, where the meltwater drains away from the concrete and the lawn. Leaving the slush in place lets it refreeze into a fresh sheet, often rougher than the ice you started with.
Step 4: protect the concrete and the lawn edge
Melt does its work and then it has to go somewhere, so keep it off the places it harms. Sweep stray granules off the lawn edge and back onto the drive, and do not pile melt along the concrete seams or the expansion joints. On older concrete with chips or flakes, lean on the shovel and the chopper for the thin ice and save the melt for the patches you cannot chip.
Match the method to the surface
Concrete, asphalt and pavers take melt differently. Smooth concrete shows melt marks first, so spread thin and sweep the residue off once the ice is gone. Asphalt hides residue better, but clear the slush before it refreezes. Pavers with sand joints need a light hand: melt that settles in the joints loosens the sand over the season. Where the surface is already weak, sand or grit gives traction without melt at all, and you sweep it up when the thaw comes.
When melt will not work
Thick ice and bitter cold beat melt on their own. When the sheet is thick, chip it down with the ice chopper first and save the melt for the thin layer left behind. When the air stays well below freezing and the melt barely softens the surface, switch to sand or grit for traction and wait for a warmer spell.
Plan for the next freeze
The easiest ice to melt is the ice that never forms. When a storm is coming, spread a thin layer of melt before the snow starts, so the first flakes land on treated concrete instead of bare concrete. Keep the melt in a dry bin with a tight lid, since damp melt clumps and jams a spreader.
Mind the weather and the ground
Wet ground is slippery under boots and under tires, so clear the drive before you drive on it. Wind blows light granules off the drive and onto the lawn, so spread on a calm day or walk into the wind.
Safety
Wear gloves and eye protection when you spread melt, and keep children and pets off the drive until the slush is cleared. Store melt in its bag or a labeled bin, out of reach of children and pets. Work in daylight when you can, and wear shoes with grip on the slick surface.
FAQ: mowing large lots
What is the best way to melt ice on a driveway?
Clear the loose snow, spread melt evenly over the bare ice, let it work, and clear the slush before it refreezes. A broadcast spreader keeps the coverage even, and a shovel clears the edges.
Can I use ice melt on concrete?
Yes, on sound concrete, spread thin and sweep the residue off once the ice is gone. On older concrete with chips or flakes, chip the thin ice first and save the melt for the patches you cannot chip.
How do I spread ice melt evenly?
Use a broadcast spreader and walk in steady, overlapping passes. The Amazon Basics broadcast spreader covers up to 5000 square feet in one load, so a drive up to 5000 square feet takes one load without a refill.
Should I shovel before I spread melt?
Yes. Melt spread over snow melts a hole through the snow and only slowly reaches the ice below. Shovel and scrape until the ice shows, then spread.
What do I do with the slush after the ice melts?
Shovel it off the drive toward the low end before it refreezes. Slush left in place freezes into a fresh sheet, often rougher than the ice you started with.
More mowing guides
- How to Use Ice Melt on Driveways and Walks
- Push Spreader vs Tow Behind Spreader: Which One Should You Buy?
- Handheld vs Tow Behind Spreader: Which One Should You Buy?
- Best Ice Chopper Long Handle Driveway (2026): 4 Picks
See the tow-behind attachments hub for spreaders and other driveway gear.